
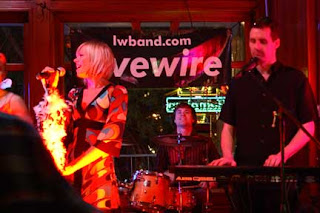
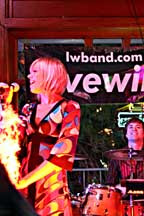
First I decided to play with the composition - a vertical composition captures the portion of the image that's in focus (image on the left below). Once I have a decent composition, it's time to see if I can correct the exposure and the color cast (image on the right below).

By looking at the histogram for the image, I discovered that I'd clipped the shadows - which means that some details in the shadows of the image appear as black. I also discovered that to balance the image I had to watch blowing out the highlights - which means that the bright areas in the image get converted to white and detail disappears (for example the highlight in her hair). After correcting the tone and contrast as much as I could without losing too much detail, I unsharpened the image to bring out some more details. I finished the image by saturating the singer (using the Sponge tool in Photoshop) and brightening the drummer (using the Dodge tool in Photoshop).
Feedback from my instructor revealed that I hadn't completely removed the reddish color cast. The photo needed more work - a levels correction by channel. Moving the middle slider toward the right to switch the red towards cyan. I played with the photo some more but couldn't reach a compromise between color cast and data loss that I was happy with. The additional channel correction yielded more contrast which generated a nice black and white.

After playing with a underexposed image, I decided to see what magic I could work with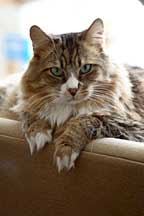 an overexpose
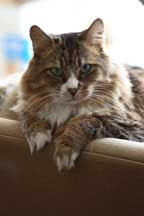 d image of my cat Sprite. The original image is on the left. The correct image is on the right. I compressed the histogram - increasing the midrange of the image so that the shadows were brighter. I then unsharpened the image to bring out more details in Sprite's face. One edit I should have done, but didn't was to crop the image slightly so that the shadow at the top right of the image was eliminated.